Strawberries are one of my favorite types of berries. Their peppy, sweet, and sour taste always reminds me of early spring, when my granny used to treat me with a bunch of freshly-picked babies. Of course, strawberry jelly is just as delicious as garden-fresh berries, and paired with peanut butter makes a wonderful couple. So, inspired by the sweetness of this confiture, I've painted my nails a romantic pink-red shade, creating a smooth ombré-like transition from the matrix of the nail right to the very tip. If you like this strawberry jelly nail look, go ahead and follow my little tutorial.
How to Do Strawberry Jelly Nail Look?
As always, I start my manicure by removing the old nail polish with acetone. If you are wondering how to DIY your own manicure at home, check out my in-depth blog post, where I share how to do an at-home manicure in 5 easy steps. These tips will guide you through the process and in the end, you'll get a professional-looking manicure. After you are done removing the old color, you can proceed to the next step.
It is time to work on the bare nails: cut or file down the length, if needed, remove the old cuticle, and smooth the surface of the nails. Once the nails are prepared, you can apply a nail polish primer or work on the design right away. To create a smooth transition from the natural, bare nail to the pop of strawberry red color, I used a regular kitchen sponge. Just cut a small piece from the sponge and dipped the tip of the sponge into the color.
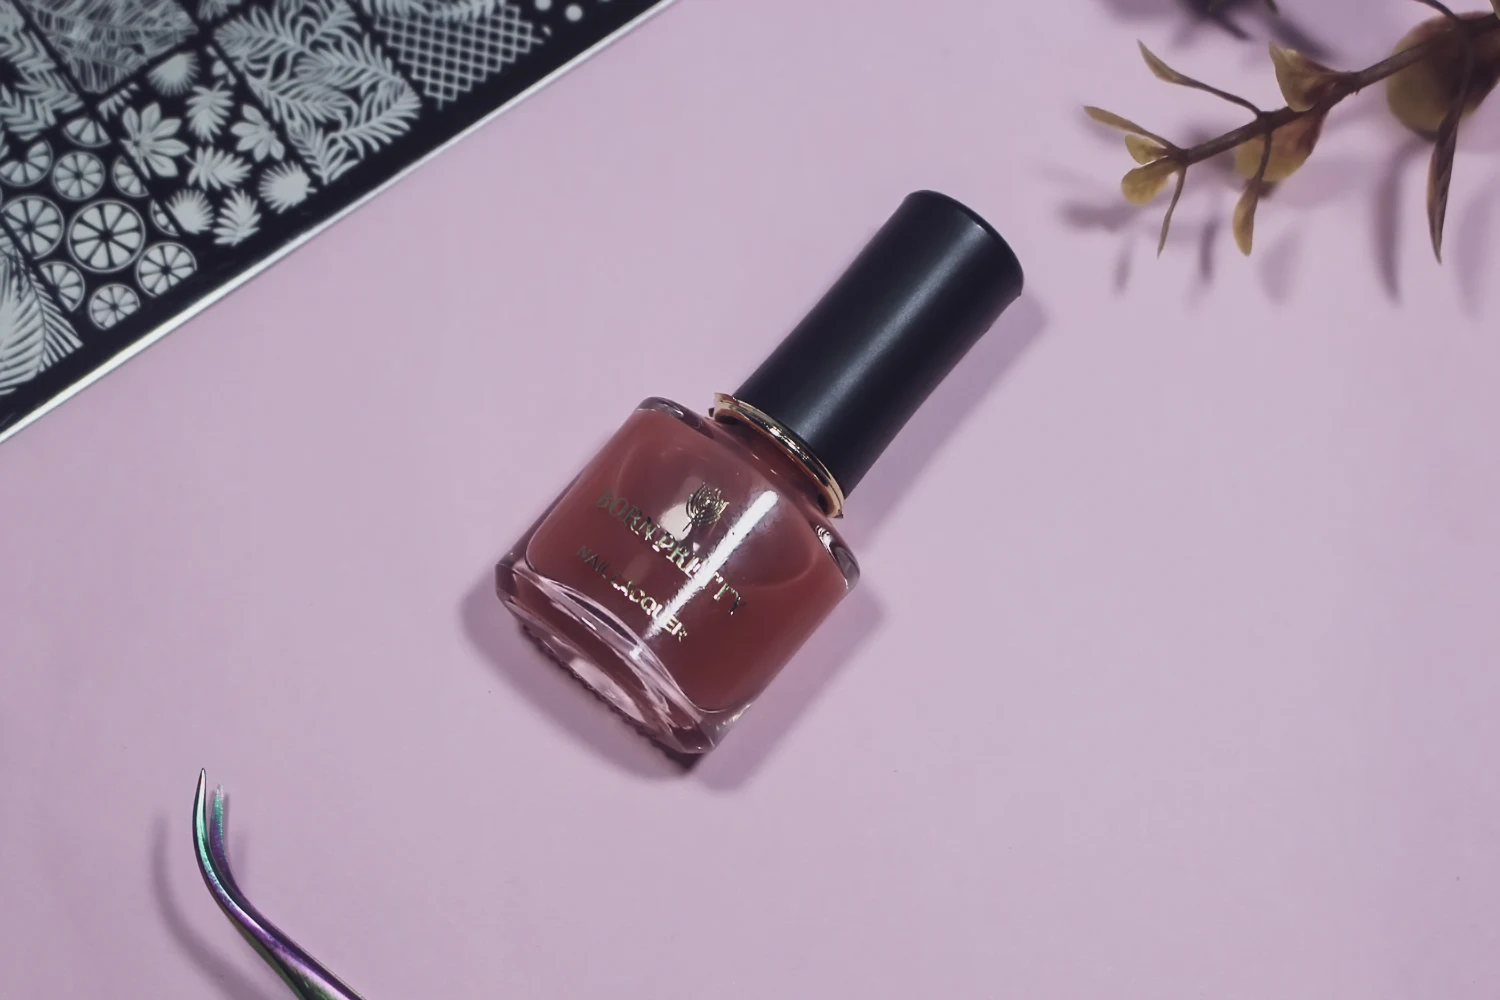
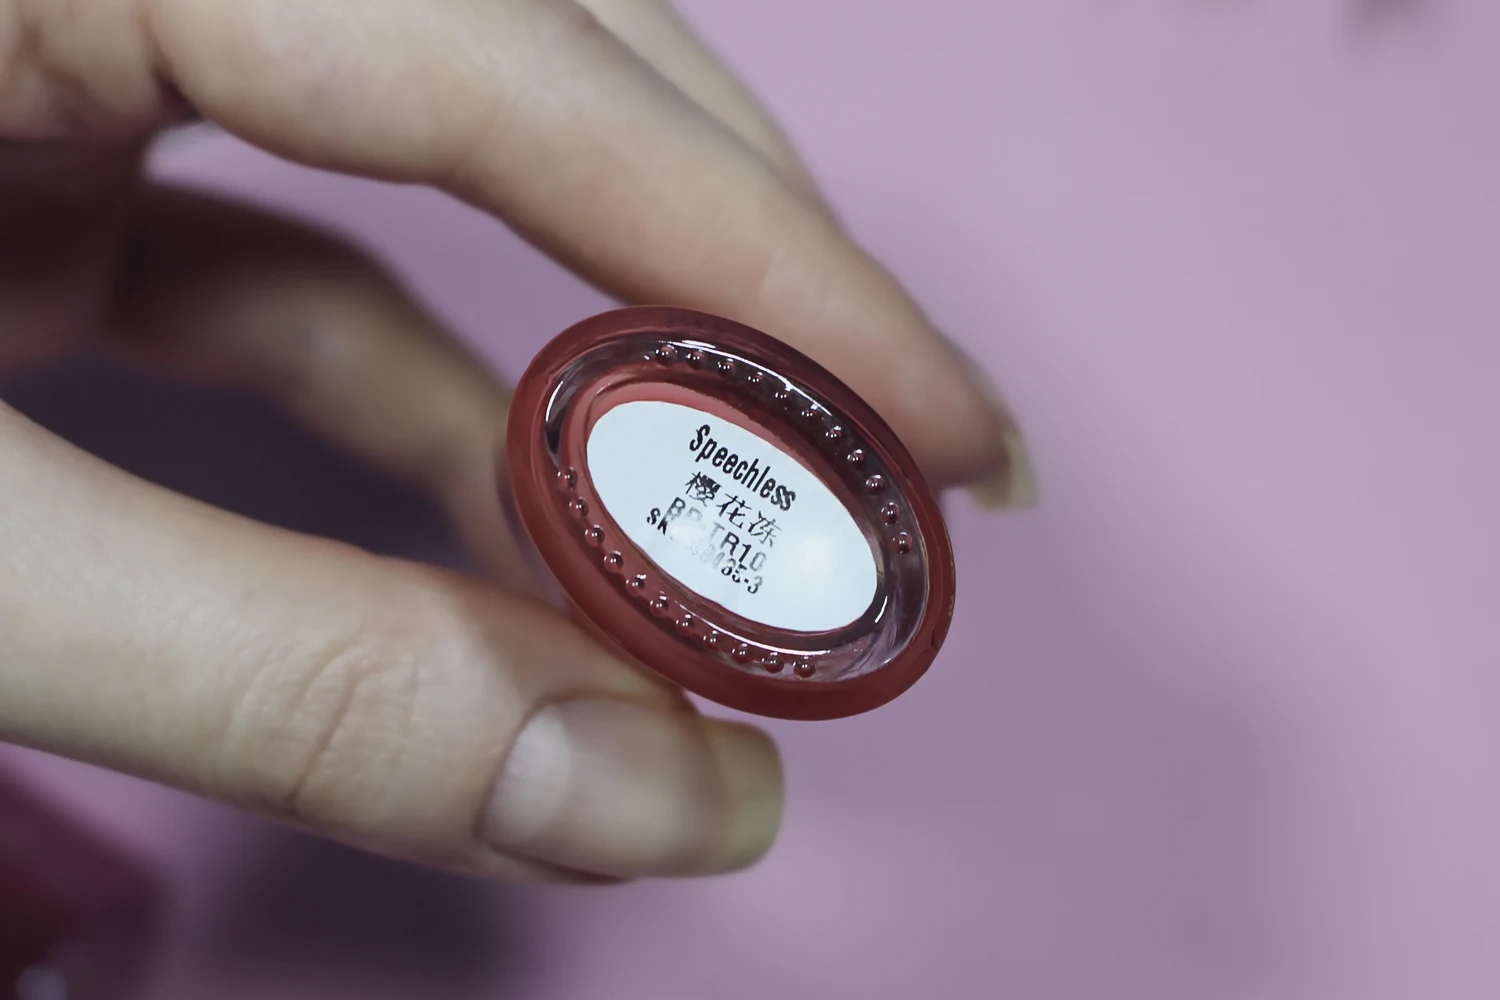
And now a few words about the nail polish I used to create these strawberry jelly nails. It is a translucent jelly nail polish in a charming shade called "Speechless" by Born Pretty. The high-shine formula of this nail polish truly looks like jelly on the nails. Have you ever heard of the 'jelly' or 'glass' nail trend? This nail polish mimics the appearance of sweet, juicy strawberry jelly, and it looks very appetizing!
And, of course, to smooth out any harsh lines between the transitions, apply a few thin coats of top nail polish. It will blend out those harsh lines, and seal the nail polish. Such a manicure will last on the nails for a very long time. Even when your nail will start to grow, it won't interfere with this strawberry jelly nail look, because the color wasn't applied to the matrix of the nail. Convenient and trendy, just how I like my nails to be!
So, what do you think, lovelies, how do you like this nail look? The "jelly" nails were one of the hottest trends last year, and I can't stop wearing them on my natural nails. Would you like to try it as well? It looks fantastic on both short and long nails.
Lots of love,
Liz


