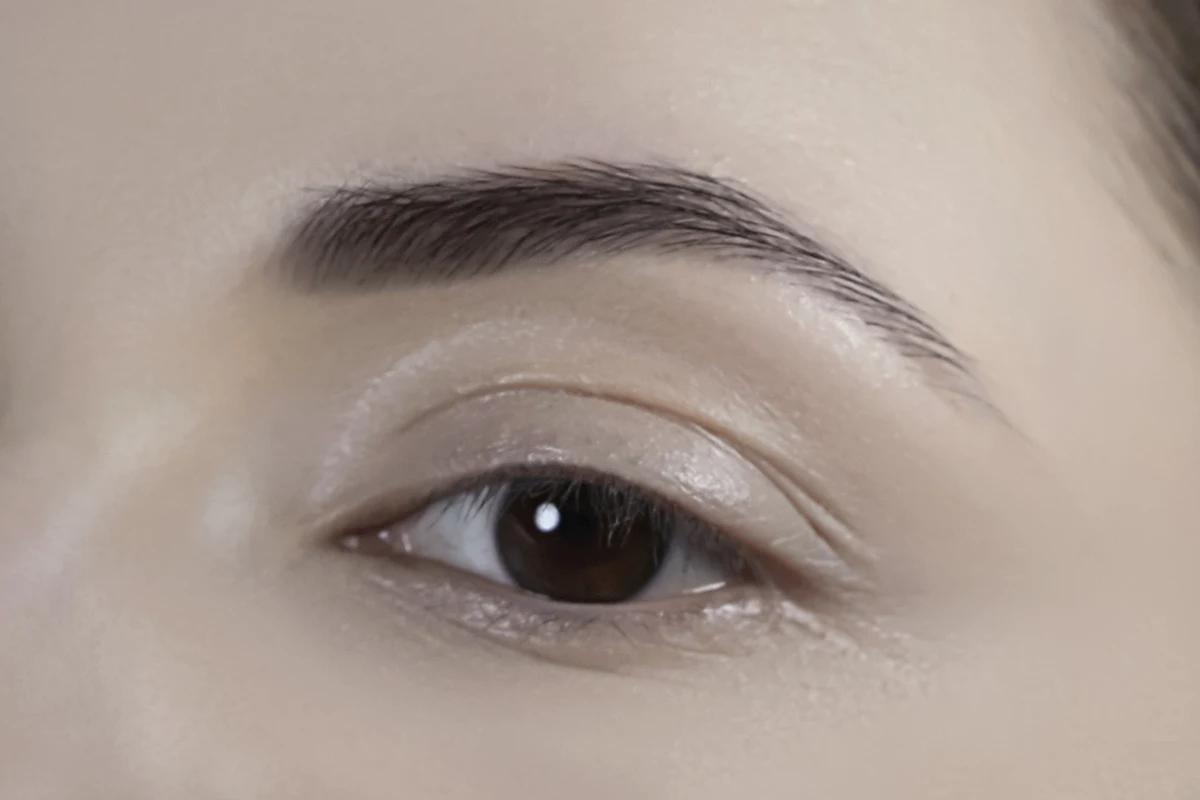
Henna eyebrows are one of the most popular temporary ways to enhance your eyebrow shape and color. Brow henna is affordable and simple to use, and the results can last up to a few weeks. Certainly, you can always go to a professional makeup or brow stylist and get them trimmed, plucked, waxed, and tinted. However, if you prefer doing your beauty routines, you may want to tint your eyebrows with henna at home all by yourself.
Today I'm going to guide you through the whole eyebrow coloring process from the very beginning until the final touch-ups with makeup. We are going to find out how to prepare, apply, and remove eyebrow henna to receive the most beautiful and lasting results. In addition, we are going to discover some of the most frequently asked questions regarding the henna dye and henna eyebrow treatment. Let's begin!
#1. Preparing Henna Mixture
The very first step in the henna brow treatment is to prepare the actual henna mixture, which we are going to use to tint the brows.
• How to Mix Henna Dye for Eyebrows?
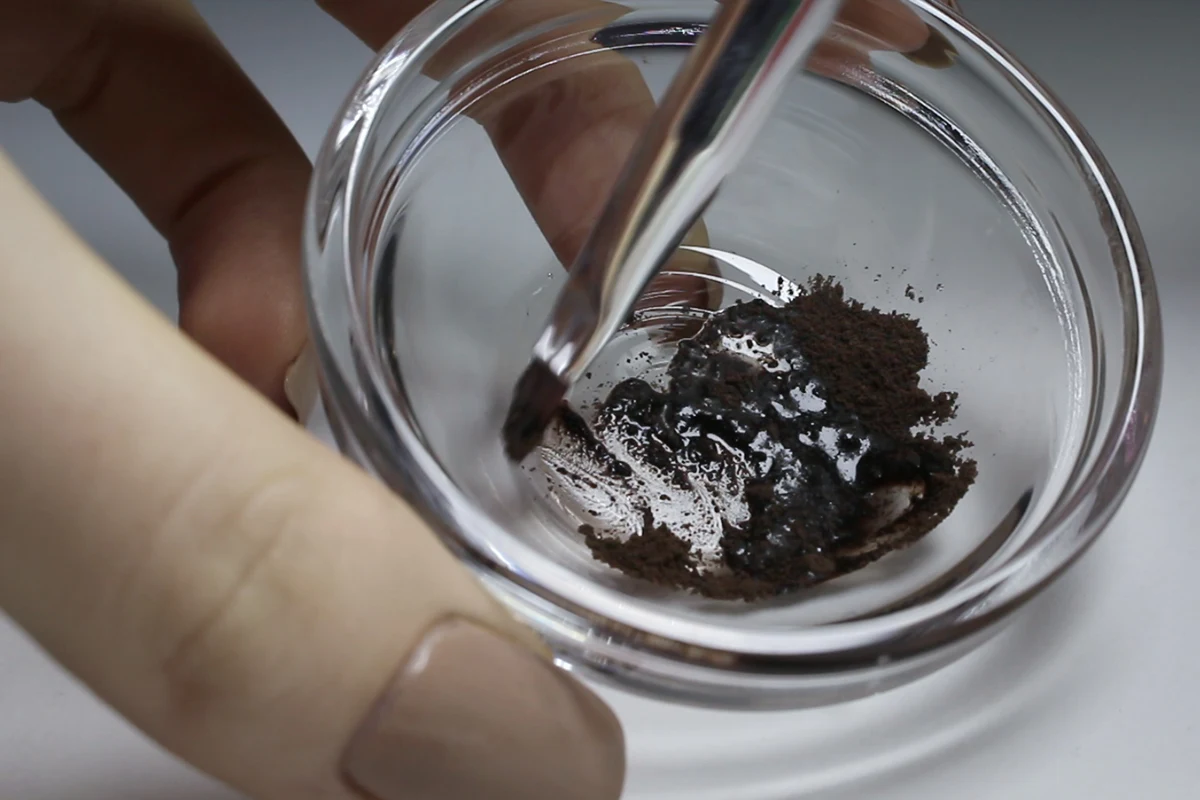
Preparing an eyebrow-dying henna mixture is an easy and fun process. It is so much easier than you might've thought! The only few things you will need to mix your henna powder are a glass, acrylic, or plastic mixing bowl, and a mixing spatula. It is best to avoid mixing your henna mixture with metal tools. Metal may oxidize the powder and, as a result, it may lose its quality.
Mix the henna powder with a few drops of water. You can use regular tap water, cold or lukewarm. Stir the henna mixture until it turns smooth and has an even, almost creamy consistency. Let the mixture sit for a minute or two. While waiting you may start preparing your eyebrows for further henna treatment.
#2. Preparing the Skin and Brows
One of the main secrets of henna tint longevity lies in this step. It is like with the gel nail polish and the surface of the nails – the better your nails are prepared for the gel polish, the longer it will last. Same with your skin and brows – the better they are prepared for the henna tint, the longer the color will last.
• How to Prepare Your Skin and Brows for Henna?
Firstly, gently polish your eyebrows and the skin underneath the little hairs. Use your favorite face cleanser with some smooth polishing powder. This will remove grease and dead skin cells, preparing the area for the tint. After cleansing, degrease the area with rubbing alcohol and let it air dry.
#3. Applying Henna to the Brows
It is important to think thoroughly before starting to apply henna dye to your eyebrows and skin. The henna tint is not permanent, but you don't want to stain the skin outside the shape of your eyebrows. Think thoroughly about the desired eyebrow shape. Do you have gaps in the natural shape of your brows? Do you want a non-surgical brow lift? Maybe your brows are too thin? All of these little imperfections you can temporarily fix with the brow henna treatment.
• How to Apply Henna Eyebrows?
To apply the henna mixture to my brows and skin, I like to use two types of synthetic brushes: a flat small brush to fill in the shape, and a thin brush to perfect the shape and fill in little areas. Start by outlining the desired shape with the smaller brush.
Don't hurry with the process, apply henna dye slowly, stroke by stroke. Try covering it with the henna mixture every single eyebrow hair. Leave the beginning of the eyebrow untouched, to create a natural gradient with the color. Then fill in the shape with a larger brush. Clean up any little mistakes. Now, wait for the henna dye to dry. It usually takes 5 to 10 minutes for it to completely dry and 'release' the tint into the skin.
Quick Tip:
In case you were not satisfied with the results of your eyebrow henna dye, there is a way to remove the tint fast. Load a cotton pad with any vegetable oil you have: olive, jojoba, or coconut. Swipe the henna tint away. Clean and degrease the eyebrow area once again and you can reapply henna once again.
#4. Removing Dry Hair from the Brows
Now when the henna is dry it is time to remove it from the skin. Some brow stylists recommend you scrub the henna off of the hair and skin, while others 'soak' the henna off with vegetable oil. I like to combine both methods. Starting with oil soak, and finishing with a gentle peel or scrub. You can use a plastic spatula or orange stick to help you with the removal.
#5. Finishing Touches
After you are done removing, you may see a few imperfections here and there. Especially if you are new to at-home henna treatment, you may not be 100 % satisfied with the first application. You can fix the result by reapplying henna tint here and there, filling in the gaps. Or, you can simply fill in your eyebrows with makeup, as you usually do.
How Long Will Henna Eyebrows Last on the Eyebrows?
It all depends on the quality of the henna powder you use to dye your eyebrows, your skin, and even your skincare routine. Some henna have little to no pigmentation and provide a very subtle dye to the skin. Other powders stay up to a few weeks on the skin and give your eyebrows intense, dark pigmentation.
If you have an oily skin type or live in a hot and humid climate it may affect the longevity of the henna eyebrows. Frequent usage of facial oils, heavy creams, scrubs, and even sauna steam may also quicken the durability of the tint on your skin.
Are Henna Eyebrows Safe?
Pure henna powder not mixed with any additional ingredients is considered to have low allergenicity. However, low allergy potential doesn't mean any potential at all. Make sure to use a high-quality henna powder, and don't forget to check its expiration date before using it. If your skin is prone to allergies, you can do a little text before applying henna on to your eyebrows. Just apply a small amount of henna mixed with water on the inside part of your elbow.
Wait 12-24 hours without wetting this area and check the results. If your skin gets red or develops a rash, or burning sensation, it means you are sensitive to the henna. It is best to avoid using it on your eyebrows or lashes, as the skin on your eyes is thin and much more sensitive.
Summarizing...
Henna dye is one of the world's oldest and most popular natural tints. It is affordable, safe for the skin, and very simple to master. Surely, as with any other beauty treatment, henna brows take time to learn, but the results are so worth the whole process! If you have light, thin, balding eyebrows, and don't like filling your eyebrows every morning with makeup, the henna method may be worth trying. Plus, you can use the same henna tint to color your lashes or beard. But this is a whole different story!
Lots of love,
Liz


