How do you fight the annoying midsummer sadness? One of the best ways to drive away bad thoughts is to give yourself a little makeover, in my case — an at-home makeover, because it always relaxes me and improves my mood. Besides, I always wanted to give my nails an enchanting celestial look! So, as you might've guessed already, the nail look I'm going to show you in my post today is this black and blue stamp-on manicure inspired by the infinite cosmos.
To get this enchanting celestial nail look inspired by a cosmic witch aesthetic, I started with preparing my nails. I removed the previous manicure with a twist clipped dead cuticles and gently polished the surface of my fingernails. Usually, I do not use nail polish primer, but if you want to work with a perfectly smooth nail surface, I suggest you prime your nails right after these basic preparations. A good base coat will also help your manicure last longer.
Blueberry Macaron* stamping nail polish is the newest edition in my collection, so I've decided to give it a test drive and use it as a base for stamping nail art and also to put on the actual stamps. This gorgeous color, from the Warm Tea Stamping Series, has a dream-like creamy texture and opaque coverage. This soft blue color looks just like a real blueberry macaron, it dries on the nails in no time and appears bold on both dark and lighter bases. The second color I used is a deep black basic nail polish.
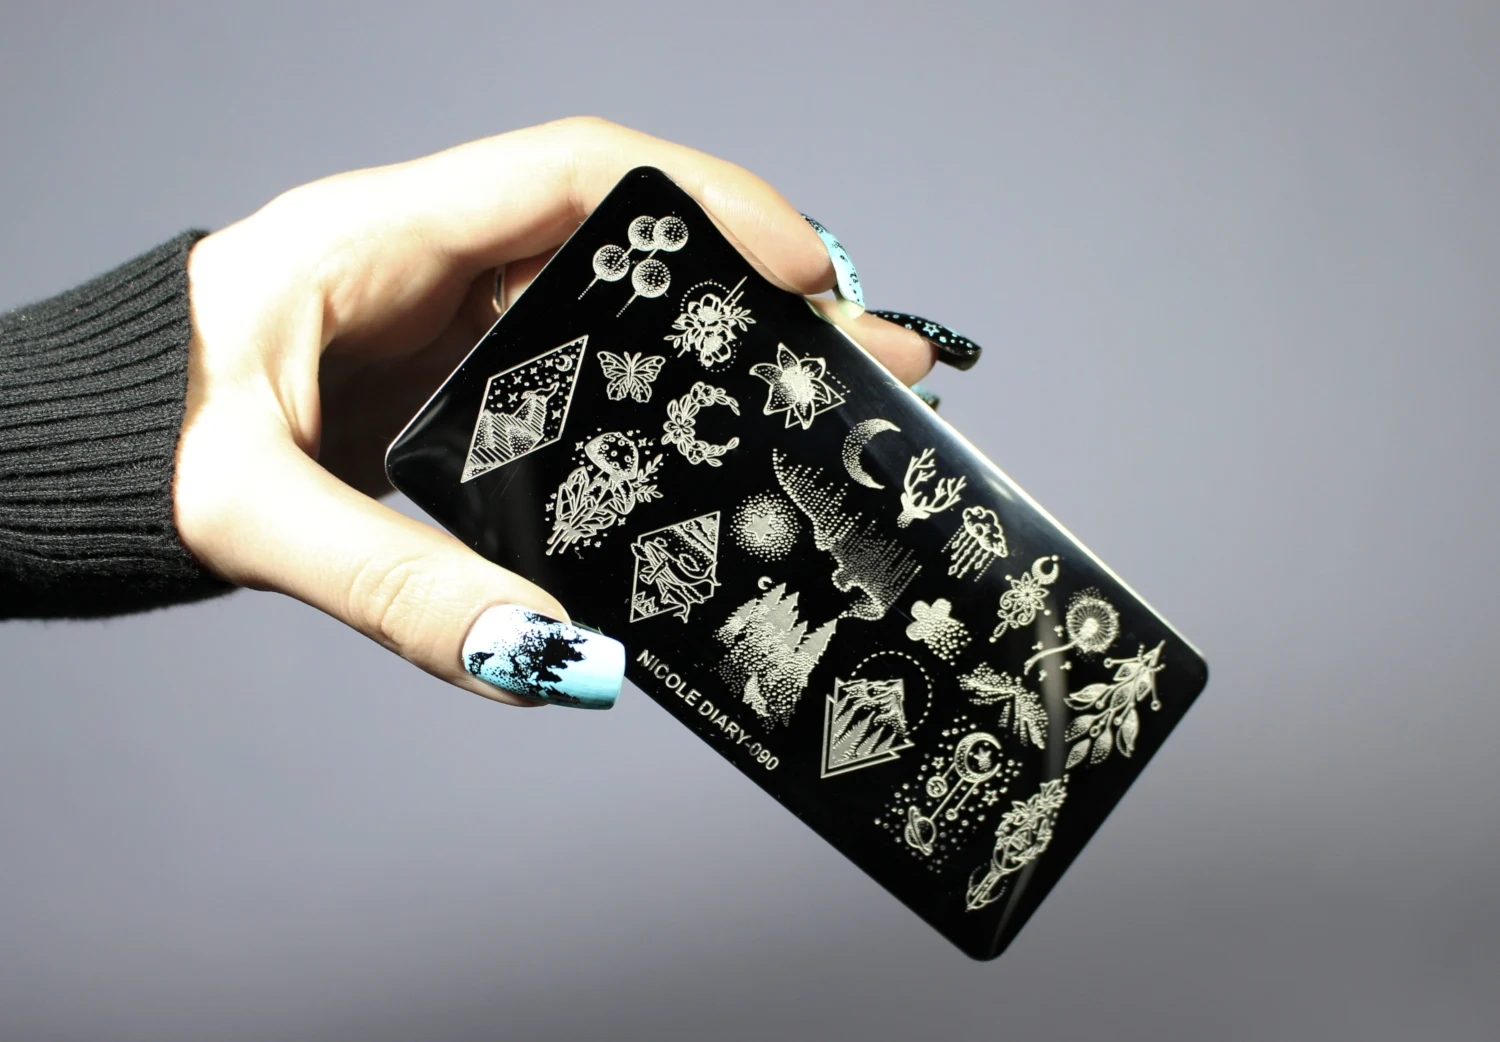
The star of this nail look — Nicole Diary nail stamping plate* by Born Pretty. This plate features 22 nocturnal designs (celestial are my favorite) and each one of them is stamped with no hitch. Unlike regular nail stamping plates by Born Pretty, Nicole diary plates are a bit thinner and more liable to scratches, so you'll need to be a bit more careful with them.
These stamping plates come without a special plastic base, but they also have some of the best themes and patterns. To transfer desired images onto the surface of your nails, you'll need two more tools — a silicone nail stamper and a plastic scraper. Apply a tiny amount of stamping nail polish on the plate, scrape the excessive amount of color, press the design on the stamper and
You are the moon of my life, my sun and stars.
Nail polish never lasts as long and looks as good without a proper top coat. I love using a special No Smudge top coat because it not only seals the art but doesn't mess it up. A thin layer of the top coat helps to smooth out the appearance of the stamping design, gives the manicure a shiny facade, and longevity. It is better to apply nail polish in thinner coats; the thinner is the coat — the fast it will dry.
Well, I really like how this nail look turned out. Clearly, the nail stamping technique takes time and practice, but the final result is always neat and good-looking. I had so much fun creating this manicure and will definitely try different color variations with this nail stamping plate. And what do you think? Please let me know your opinion about this manicure in the comments. Until next time, lovelies!
Liz


