There's no need to spend money on a salon manicure when you can easily do it yourself at home. With just a few simple steps, you can have salon-quality nails that will last for weeks. In today's blog post, I'll try to walk you through the five super easy and simple steps to a perfect at-home manicure. Additionally, I'll share with you some of my favorite nail care tools and tips. Let's begin?
How to Do a Manicure at Home in Five Steps?
- Step 1: Remove old nail polish
The very first step is to remove the old traces of the previous nail polish. Use a piece of cotton soaked in acetone and gently rub the surface of the nail. If you have nail stickers, use tweezers or an orange stick and scrub them off the nails. Glitter and shimmer nail polishes won't leave with ease, so to remove them, you'll need to make an extra effort. Soak the cotton ball with acetone until it gets completely wet in the solution and apply it to the top of the nail for a few minutes. No need to rub, the textured nail polish will come off the nail with no trouble.
- Step 2: Remove dry cuticle
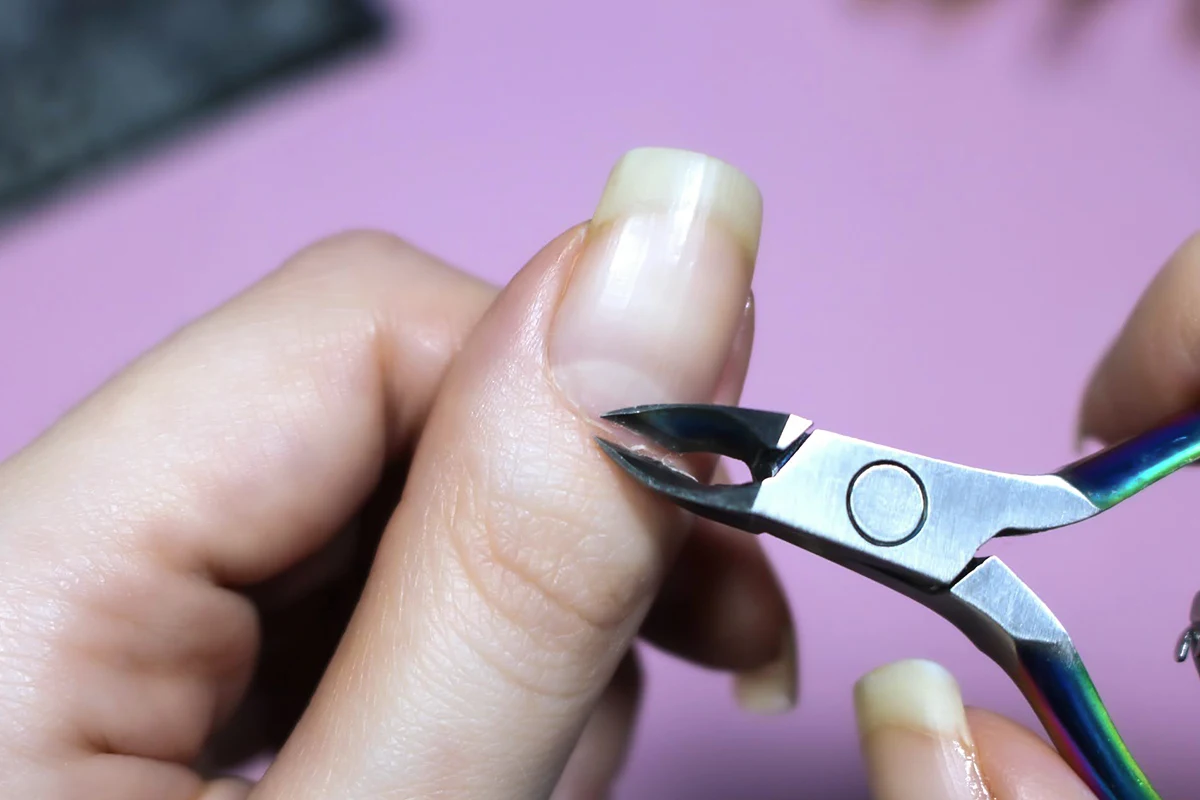
Now, when your nails are free of old nail polish, let's move on to the next step ‒ removing the fingernail cuticle. There are three different ways to remove the dry cuticle. You can use a special cuticle-removing fluid, thin, sharp scissors, or cut the cuticle with a special cuticle nipper. The last method is my favorite. Of course, the real secret behind the neatly cut cuticles is the sharp nippers. Professional nail technicians know their tools! Therefore, for this step, you'll need the sharpest cuticle nail nipper you'll find.
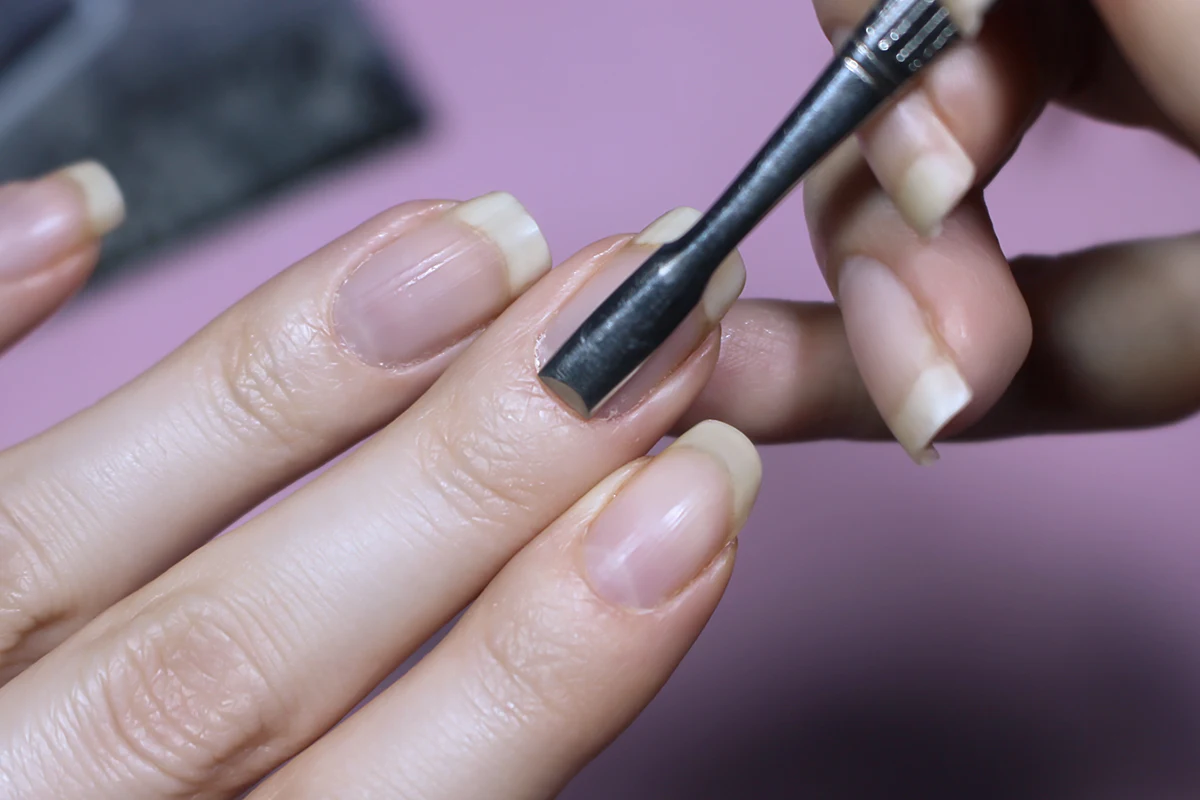
Some prefer to moisturize the cuticle before cutting it off. I find it easier to remove the skin when it is dry. Use an orange stick or cuticle pusher to carefully push the overgrown cuticle to the root of your nail. This procedure should not cause any pain or discomfort. Now, when the cuticle is all pushed to the root, trim the old skin with the cuticle nippers. I use my favorite nail cuticle nippers by Born Pretty*. They come in the cutest rainbow design and do their job just perfectly. Don't try to trim it all off in one motion; keep your hand relaxed and steady, and be confident.
Another important rule to remember when working with a cuticle is not to don't cut the cuticle frequently. First of all, the more often you cut the skin, the more it will grow over your nails. It is the natural way for your body to protect your nails from damage. I trim my cuticle once every three to five weeks. Of course, most dermatologists insist on keeping the cuticle in its natural state, only allowing it to push back. I believe it is safe to trim it off as long as your tools are clean and you trim only the dead part of the cuticle.
- Step 3: File down your nails
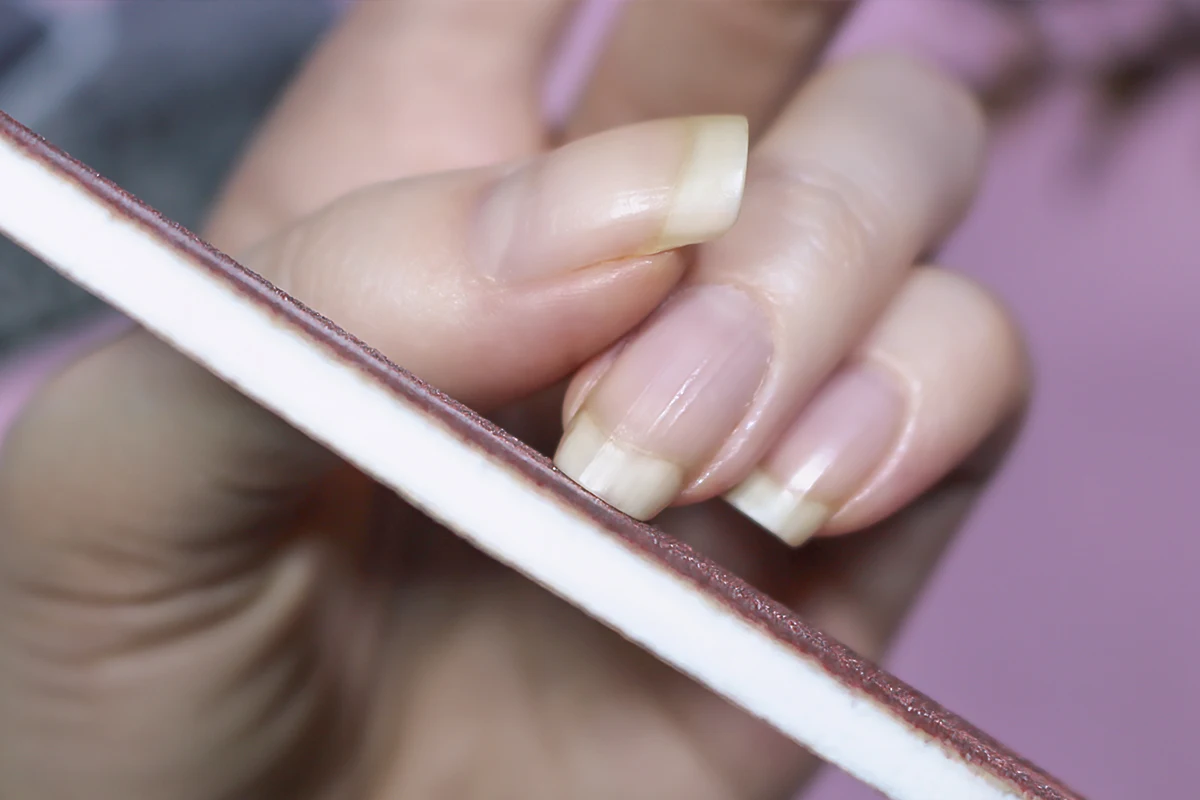
The next step in our quarantine nail makeover is nail filling. I prefer to file my nails off, rather than clipping them with nail clippers. The reason for this choice is simple ‒ nail clippers may snap your nails lower than you intended or snip them into layers. You can use nail scissors, but I just can't get them all trimmed on my right hand. So, to file the nails, I use a regular double-sided nail file: rougher side to file down the length, softer side to polish the surface after.
Optional step: There is one optional step, which you can perform before step number four. I'm talking about getting rid of vertical fingernail ridges. They are absolutely healthy and common, but, if you feel like your nail polish can't cover them up, use a nail buffer and smooth them down. My nail ridges are very prominent, but a few coats of nail polish almost completely cover them up, so I rarely buff them down.
- Step 4: Apply nail polish and design
Are you ready to move on to step number four? It is the best part of the whole process, the step where you can get creative or the nail art stage. Before applying your favorite nail polish and decorating your nails with crystals, stickers, or stamping patterns, it is best to apply a nail polish primer. This primer will even out the surface of the nail, allowing the nail polish to be evenly applied to the nails. It will also make your manicure last longer.
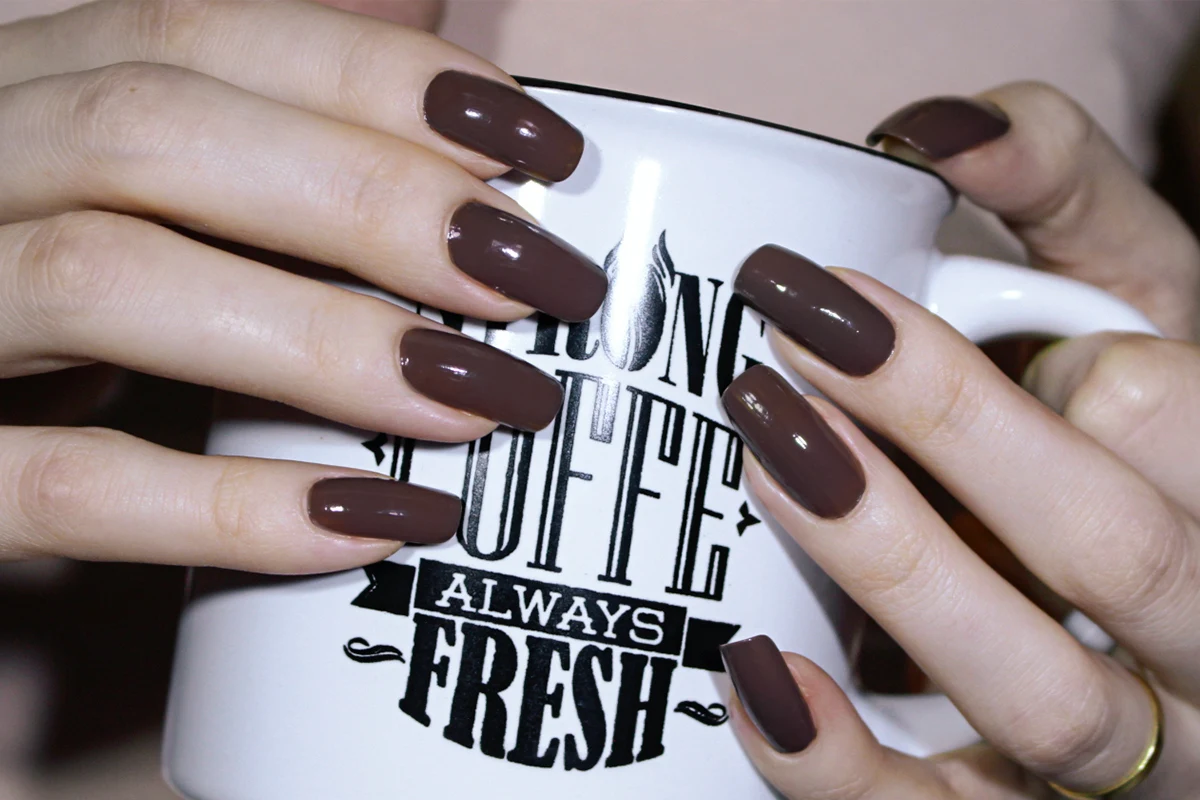
When you are done with priming, you can move to the actual nail polish. I like to apply two to three thin coats of the color, allowing each coat to dry before applying the next one. Thin coats dry faster and lay more evenly on the surface of the nails, unlike the thick coats of color. When the nail polish is completely dry ,you can start decorating your fingernails.
Usually, when I do my manicure, I experiment with nail stamping. It is a fun way that allows you to be creative and have fun. In one of my previous posts, I shared my first experience with nail stamping and showed how to transfer the patterns on the top of the nails. On days when I don't feel like stamping, I may decorate my nails with nail stickers or nail art studs.
To apply those tiny nail decorations precisely and neatly, I like to use stainless steel tweezers*, which also come in the same rainbow design, as the nippers. This tool allows me to pick up each rhinestone or sticker and place it carefully on the top of the nail. Seal the manicure with a few layers of clear topcoat. Top nail polish will give your nail a glossy (or matte) finish, even out small imperfections, and make your manicure last a very long time.
- Step 5: Moisturize your nails
And the very last, but no less important step in the nail makeover is moisturizing. The reason why this step should be final is obvious: greasy residue prevents nail polish from 'grabbing' onto the nail, which makes it impossible to last. Once your manicure is finished and completely dry, you can nourish your cuticle and the skin underneath your nail with moisturizing oils. I love using an apricot or coconut oil to finish my nail care routine. Hand moisturizers work just fine as well.
Summing up...
And this is how to do your manicure at home. Of course, you'll need some tools and a tiny bit of patience, and, with practice, your manicure will look just as good as if it were done by a professional nail technician. I always do my manicure this way; it is almost like a meditation for me. And what about you, lovelies? Do you prefer your nails professionally done, or, like me, do them up at home?
Lots of love,
Liz


