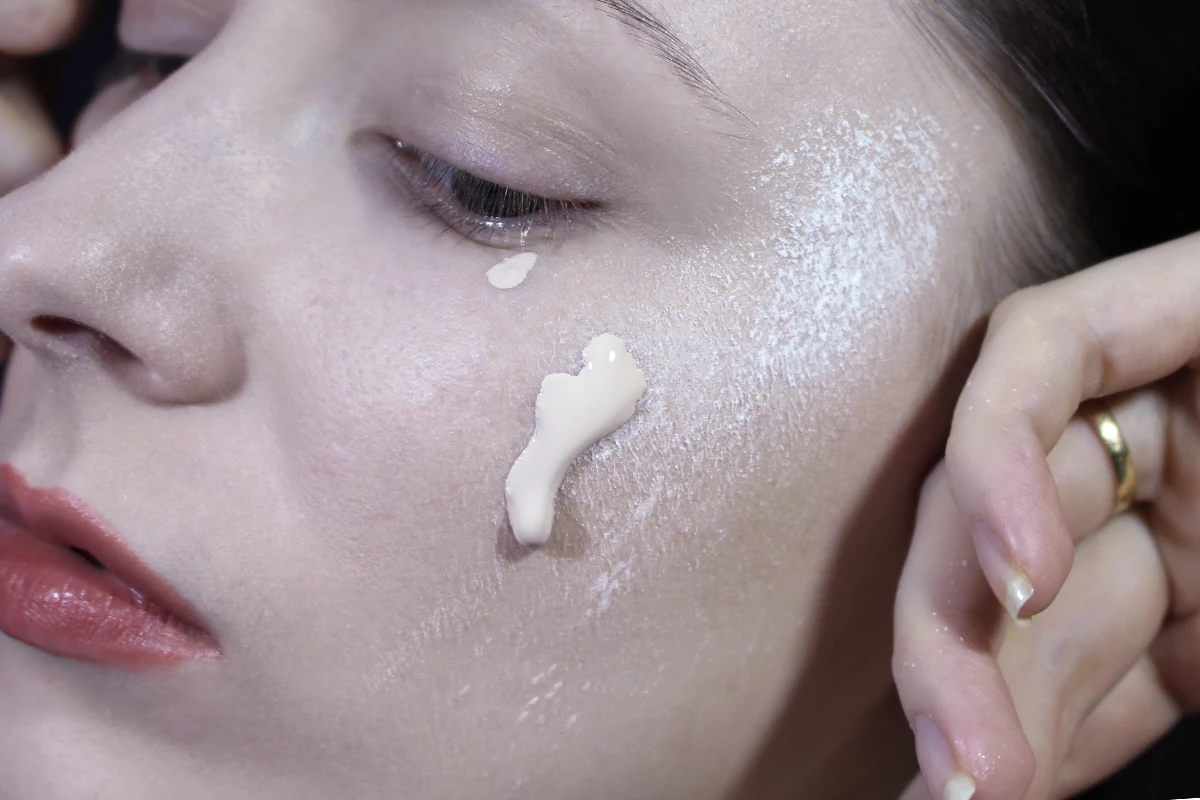
Just like a painter creates a smooth canvas for a future masterpiece, we prepare our skin for makeup. We cleanse, exfoliate, moisturize, and utilize all sorts of skincare tools and brushes to ensure flawless makeup. However, sometimes these meticulous procedures won't guarantee a professional-looking, beautiful look. On a dry day, the skin might need an extra boost of hydration, and on a sunny summer day, it might need a heat-proof makeup product to stay put. And what about the bad skin day? How to make your makeup foundation look flawless no matter what?
As a makeup enthusiast and blogger, I always try to find answers to these rhetorical, makeup-related questions. Struggling with my own ''makeup canvas'' I came up with the five essential tips that will ensure a perfect look for your makeup foundation.
From the obvious and common foundation issues to rare, unique makeup mistakes we all commit – I tried to gather some of the most important tips to help you improve your foundation. Are you ready to embrace perfection?
#1. Start with a clean face
The perfect foundation look starts with the basics – a nice and clean face with no dead skin cells, impurities, or grease. Of course, this step sounds very obvious! I doubt anyone applies foundation to a dry, dirty face full of skin peels! Still, this step is crucial in ensuring a flawless makeup look. It is important to use the right skincare products when preparing your face for foundation. The more gentle and lightweight the formulas are, the better your skin will look with makeup.
- Clean and Exfoliate
Cleanse your face with mild soap or face cleanser, and gently dab a soft towel to dry the skin. Take your time to exfoliate your face with mild, exfoliating acids. Facialist Katharine Mackenzie Paterson in a Harpers Bazaar article explains that AHAs are water-soluble acids and they can’t penetrate through the skin’s oils. At the same time, these acids are great when it comes to evening-out skin tones and fading pigmentation.
I like using Sallve Tônico Renovador with glycolic 4%, malic 2%, and lactic 1% acid to exfoliate my skin. However, this may not be enough if you have a specific skin condition that leads to extra dry skin or keratosis. So, as an additional treatment, you may want to try using a very mild mechanical skin polish to help you get rid of dead skin cells. Most dermatologists recommend exfoliating your skin twice to three times per week.
- Hydrate and Moisturize
In a typical skincare routine, the moisturizer usually follows the cleanser. However, if you have particularly dry skin, you should include an additional step between the cleanser and the moisturizer. Try using a hydrating face mist before applying moisturizer to your face. It provides an instant burst of hydration to the skin, helping to replenish moisture and combat dryness. Formulas enriched with witch hazel and rose water do wonders for the face, calming down irritations and soothing the skin.
After applying face mist to your skin, gently pat it with the tips of your fingers and allow the hydrating mist to be absorbed into the skin. While your skin is still slightly damp, apply moisturizer to it. To achieve a smooth, flawlessly blended makeup foundation, it is better to use a potent yet lightweight moisturizer that doesn't leave any residue on the skin.
Thick formulas tend to oversaturate the skin, leaving it extra oily. As a result, the foundation may not lay evenly on your skin or may even "melt" off on a hot day.
#2. Pick the right makeup primer
Now that your skin is free of dry patches and dead skin cells, deeply hydrated and moisturized, you can move forward and apply your makeup primer. It is also necessary to choose the right makeup primer suitable for your skin type and the foundation you plan to use. When picking makeup primer consider the type of foundation you typically use, whether it's liquid, cream, or powder. Certain primers work better with specific foundation formulations. Additionally, there are various popular formulas, designed for specific skin types and concerns.
- Hydrating Primer: Designed specifically for dry skin. These primers help to nourish and moisturize the skin, creating a smooth canvas for foundation application.
- Mattifying Primer: Ideal for oily or combination skin, as they help control excess oil and shine throughout the day.
- Color-Correcting Primer: These primers counteract specific skin concerns such as redness, dullness, or discoloration. They come in different shades for different areas of the face.
- Illuminating Primer: If you want to achieve a radiant and glowy complexion, an illuminating primer can help. These primers often contain light-reflecting particles or subtle shimmer, giving the skin a luminous appearance.
- Pore Blurring Primer: Designed to minimize the appearance of fine lines, wrinkles, and texture on the skin's surface. They usually have a silicone-based formula that fills in and blurs imperfections.
#3. Gently apply and smoothly blend your foundation
Moving on to the most important part – the makeup foundation application. I believe makeup artists can come up with deep scientific research on the right way of applying foundation base! Unfortunately, there is no one correct way of laying and blending this product onto the skin.
What type of brush should I use for the foundation? This is one of the most common questions for those of us who struggle with achieving a smooth foundation look. However, there is no definitive answer to this question. You will need to do some research and experiment with different makeup tools and application methods for a foundation to find what works best for your skin and products. Here are a few tools and application methods I recommend you experiment with:
- Fingers: Fingers are one of the most basic and commonly used methods for applying makeup foundation. You simply use your fingertips to apply and blend the foundation onto your skin.
Pros: Easy and convenient, provides a natural finish, as the warmth of your fingers helps the foundation melt into your skin. Allows for precise application in small areas.
Cons: Limited control over coverage, as it can be challenging to achieve a perfectly even application.
May transfer oils and bacteria from your hands onto your face if not properly cleansed.
Fingers may leave streaks or uneven blending results
- Flat foundation brush: a flat foundation brush has densely packed bristles and a flat surface, ideal for applying liquid or cream foundation. Makeup artist Wayne Goss often uses flat foundation brushes in his video tutorial, proving the beautiful results.
Pros: Offers more control and precision compared to using your fingers. Provides an even application. Can easily build up the coverage by layering the foundation.
Cons: May leave brush strokes or streaks if not blended properly. Requires regular cleaning to avoid product buildup and bacteria accumulation. It is more time-consuming to achieve a flawless finish.
- Tapered foundation brush: A tapered foundation brush has a pointed or tapered shape, allowing for more precise application and blending in smaller areas like around the nose and eyes.
Pros: Offers precise application and blending in hard-to-reach areas. Allows for targeted coverage and blending of concealer or foundation in specific spots. Can provide a seamless finish when used correctly.
Cons: May not be suitable for larger areas of the face, as it might take longer to cover larger surface areas. Requires proper cleaning to avoid product buildup and bacteria growth. Can leave streaks or lines if not used with care.
- Makeup sponge: Makeup sponges, such as the popular Beauty Blender, are versatile tools for foundation application. They are typically used damp to blend and stipple foundation onto the skin.
Pros: Provides a natural and airbrushed finish. Allows for easy blending and seamless application. Can be used with different types of foundation (liquid, cream, or powder).
Cons: Absorbs some amount of the product, which can lead to product wastage. Requires frequent cleaning to prevent bacteria growth. May not offer as much coverage as a brush, especially with thinner or more lightweight foundations.
- Flat silicone sponge: A flat silicone sponge is a non-porous, silicone-based tool used for foundation application. It doesn't absorb any product.
Pros: Doesn't waste product, as it doesn't absorb foundation. Easy to clean and maintain hygiene. Provides a smooth and even application.
Cons: Offers minimal blending ability, which can result in a less natural finish. May not work well with thicker or heavier foundations.
- And this is how I like to apply a foundation base
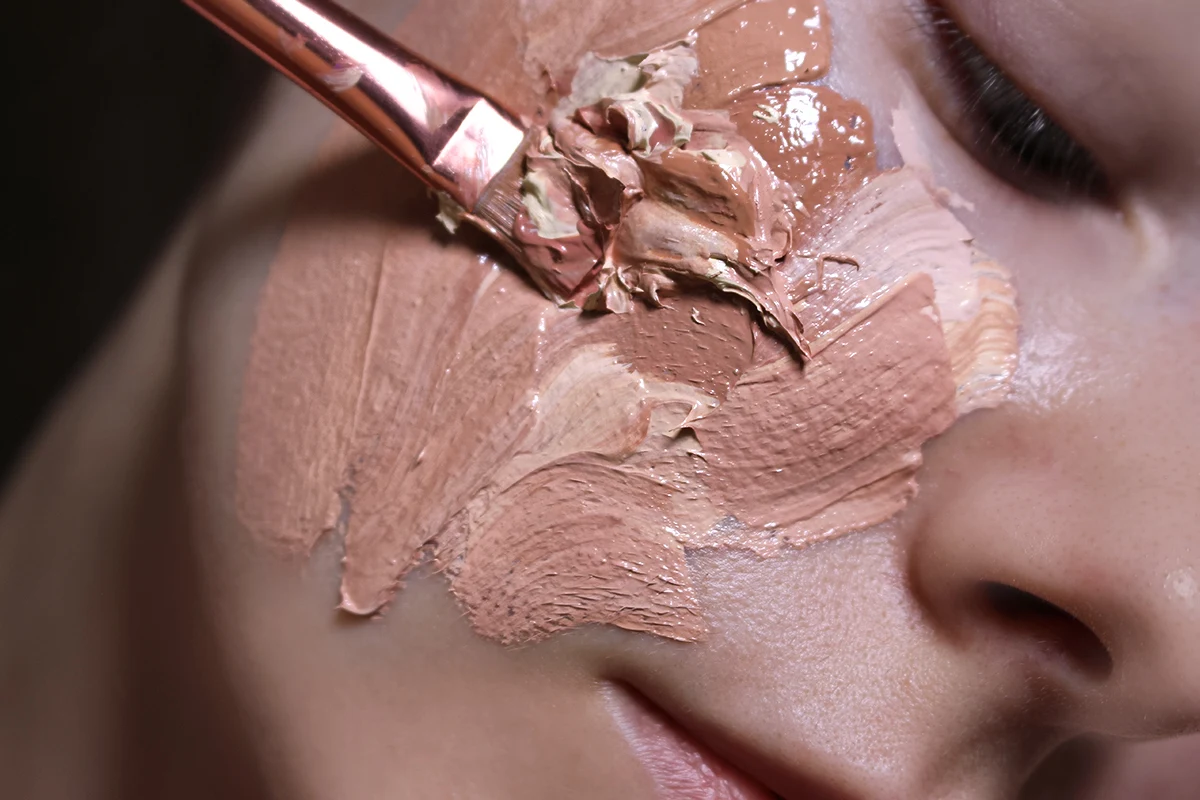
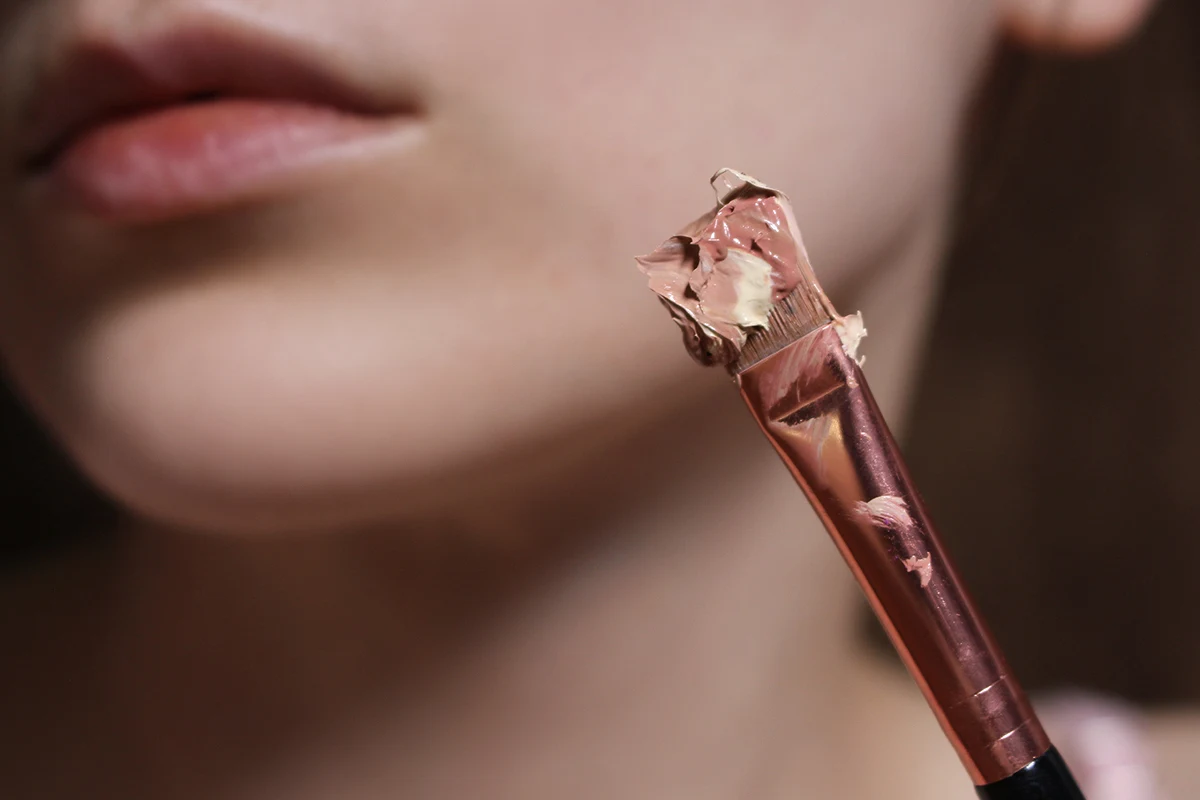
As for me, I prefer using a flat foundation brush paired with a damp sponge. First, I apply foundation with a small, flat brush, spreading it all over the face and neck areas where I need maximum coverage. I move the brush from the center of the face to the sides, swiping the brush downwards to smooth any peach fuzz or potential dry patches.
After using the flat brush, I switch to a damp beauty blender and softly pat it on the skin. The goal is to press in the consistency and absorb any excess into the sponge. For areas under the eyes or blemishes, I like to use a small sponge for better control during blending and application.
Try skipping the concealer
Concealer is a wonderful product that allows us to hide even the most obvious imperfections, including uneven pigmentation and pimples. However, layering even the most lightweight concealer can contribute to the overall texture of the skin and may emphasize dry skin, particularly in areas with acne and fine lines. If possible, consider investing in a medium to high-coverage foundation that effectively covers all imperfections with a single application.
#4. Set the foundation with a fine, lightweight powder
Ideally, it is best to set your final look with a lightweight powder. I suggest opting for a finely milled formula with minimal to no pigment. If your foundation provides a flawless, natural finish without excessive shine, and your skin isn't overly oily, you may consider skipping the powder. However, keep in mind that this can lead to an oily complexion and potential smudging, as not all foundation formulas have long-lasting staying power throughout the day.
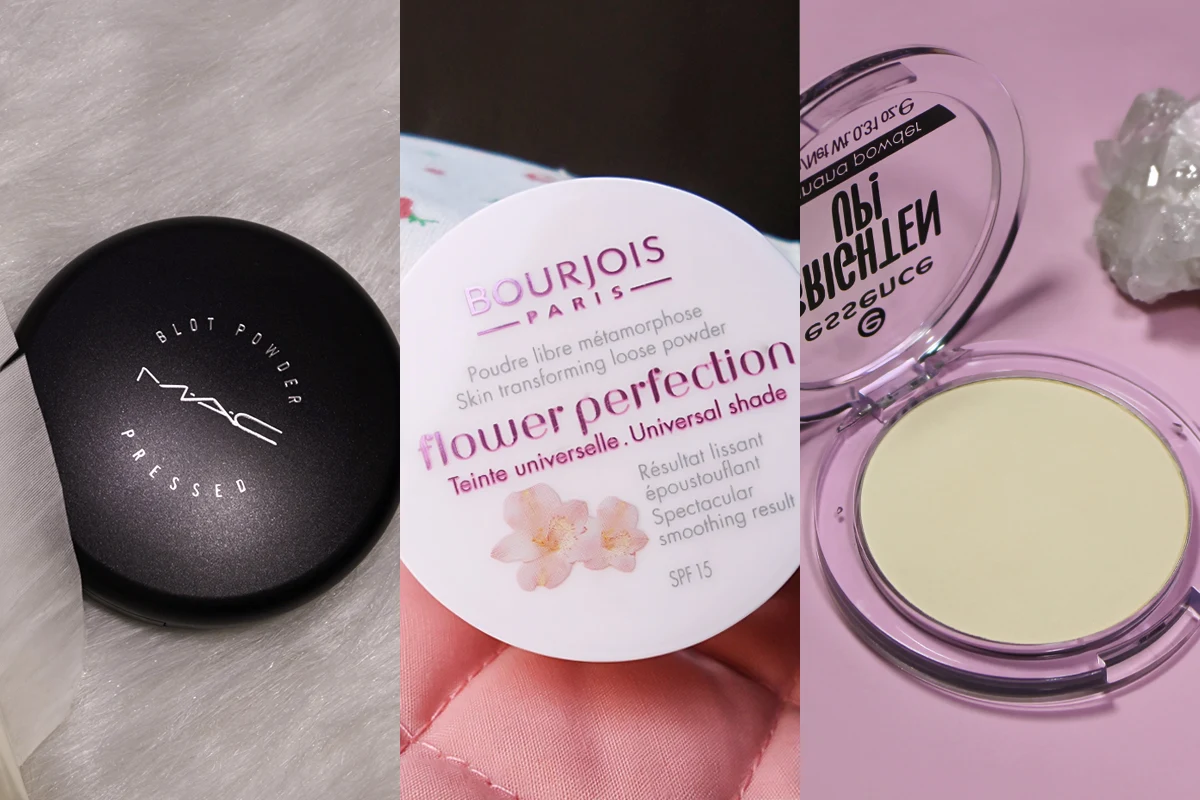
For setting my foundation I use Blot Pressed powder by Mac, as it is light and doesn't add any texture to the skin. Instead, it almost blurs the foundation's finish and makes it last longer. But you can use any other powder, as long as it is fine and seamless on the skin. For instance, I also like Bourjois Flower Perfection loose powder and Essence Brighten Up! Banana powder, as they don't emphasize the texture of the skin.
#5. The Less is Always More
The final and the most important tip to follow for flawless makeup foundation – the less is more. If you want your base to look smooth and perfect, then don't overcomplicate your makeup. This means the less product you apply to your face, the better your skin finish will be. Substitute powder-based formulas with liquid and creamy constituencies.
Cream blush and highlighter look more natural than powder-based variants. Same with the makeup setting sprays. If your makeup lasts without the setting spray, don't add it on top of concealer and setting powder.
This tip is especially important for those of us with dry and mature skin. Dry skin tends to accumulate pigments and textures, making your foundation cakey. Fine lines under the eyes, around the lips, and on the forehead also tend to emphasize any excessive dryness and product. Try using fewer products for the areas, where the foundation gets wrinkly and uneven. Switching from heavy full-coverage products to lighter BB creams and CC creams may also work better for dry and mature skin types.
Summarizing...
This blog post turned out much longer than I anticipated it to be. So, let's try to summarize this foundation epopee! I tried to cover all five essential tips for flawless application of foundation base, that will be useful for makeup beginners and more advanced makeup lovers. By following them you can master the art of perfecting your look and enjoy a seamless and radiant finish. Remember, preparation is key, so always start with clean and well-moisturized skin. Choose the right shade and formula for your skin type, and don't forget to blend, blend, blend. Blending and setting is the key!
Lots of love,
Liz


