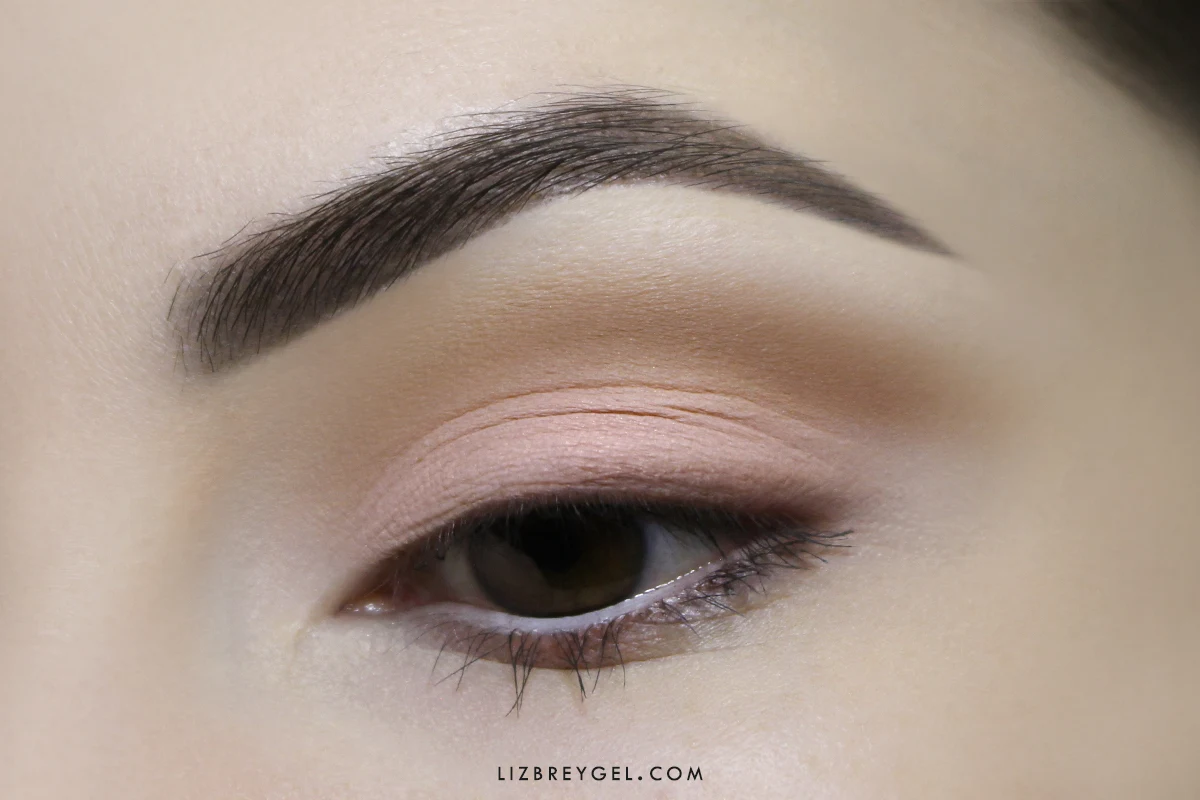
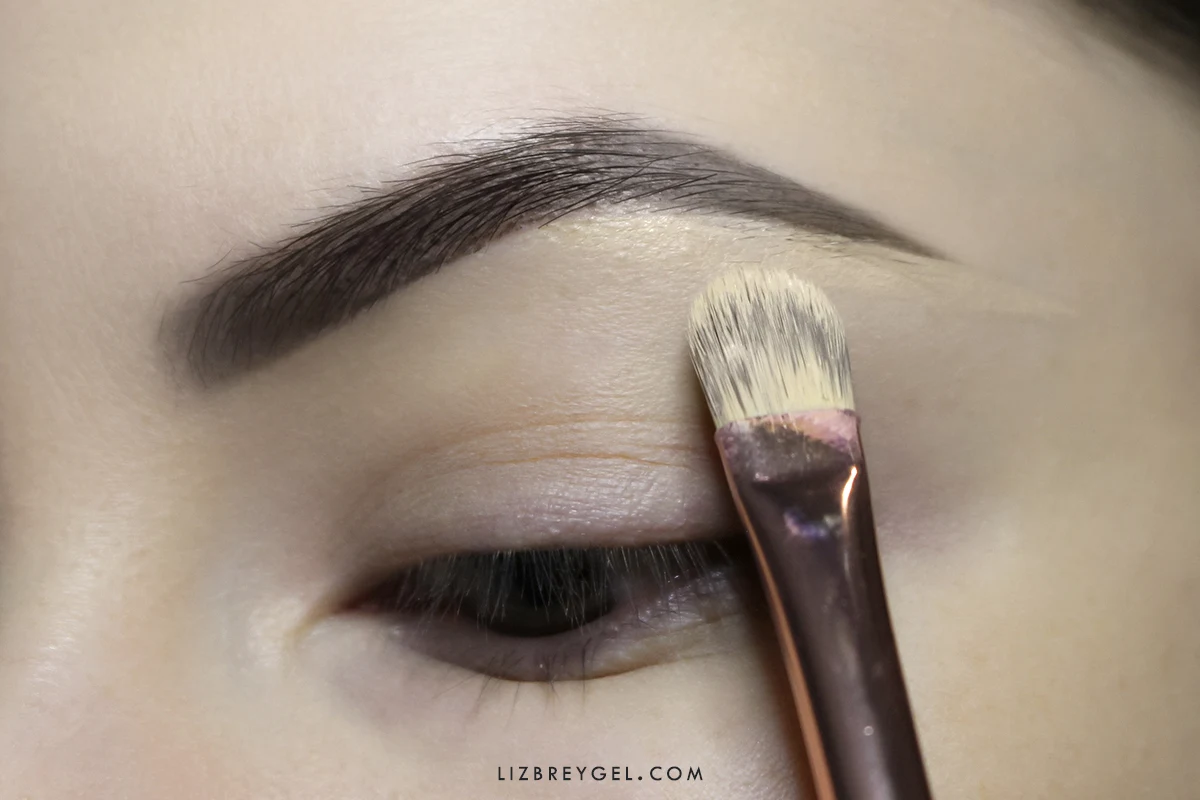
Everyone knows how much of a difference a pair of well-groomed eyebrows can make to your everyday makeup look. Eyebrows are an essential "element" of your face that frames your eyes and face shape in the most flattering way. However, nailing that natural eyebrow look can be quite the challenge – I've failed to fill them in for years and years! But fear not, for I'm here to share the easiest step-by-step makeup tutorial on achieving those envy-worthy, natural brows we all dream of.
How to get natural-looking eyebrows with makeup?
Powder eyebrows are one of the most popular cosmetic procedures that promise to create a very soft 'powdery' look for your eyebrows in just a few tattoo-machine pokes. The tiny needle delivers just the right amount of semi-permanent dye to give your eyebrows a subtle, natural-looking effect. However, to get very similar (almost identical) results, you can simply fill in your eyebrows with an eyebrow powder or matte eyeshadow that matches the color of your eyebrows. These few simple steps below will guide you through the process:
- Step # 1: Plan the desired shape of your eyebrows;
The first and most crucial step in achieving perfect eyebrows is to plan their shape according to your facial features and the natural shape of your eyebrows. Start by assessing the current shape of your brows and determining whether they need any adjustments.
To do this, identify the three key points that will be your guide for shaping eyebrows:
The starting point: Use a long makeup brush or a pencil to line it up vertically from the side of the tip of the nose. This will be your reference point where the eyebrow shape should begin.
The arch: Next, locate the highest point of your eyebrow arch by aligning the brush diagonally from the side of the nose to the center of the eye. This point doesn't have to be perfect, the best idea would be simple to follow the natural arch of your eyebrow.
The endpoint: Lastly, extend the brush from the side of the nose to the outer corner of my eye – that's where the eyebrow's tail will naturally end. The tail must be thinning to the end, extending to the temples of your head (not facing downwards.)
- Step # 2: Pick the eyebrow product;
Now that you've planned your desired eyebrow shape, it's time to select the perfect eyebrow product to achieve that dreamy look. With so many options available, it can be overwhelming, so let me help you to pick the one that suits you best.
Option 1: Eyebrow Pencil or Liner
An eyebrow pencil is a great choice for beginners and those who prefer a more precise application. Look for a pencil that matches your natural eyebrow color closely and work gently, softly on the skin between the brows. Remember, we want a soft and blended finish with no harsh lines for the natural-looking brow shape.
Option 2: Eyebrow Powder or Eyeshadow
Eyebrow powders are fantastic for a softer, more diffused look, especially if you have sparse eyebrows. Choose a shade that matches your brow color or is slightly lighter for a gentle touch. Use an angled brush to apply the powder in short, light strokes. Concentrate on the areas where your eyebrows need more definition. The powder will adhere to both the skin and existing brow hair, making it appear fuller and more natural.
Certainly, an eyebrow pomade or a gel can provide similar results, however, both of these products can be too opaque for the natural-looking finish, However, if you are going for a defined, Instagram eyebrows look, you won't find a better product for the purpose!
- Step # 3: Groom and shape;
Now it's time to start grooming and shaping our brows for that natural, refined look. Take a brush, which looks like a clean mascara wand, and gently brush through the hairs in the direction of their natural growth. This step helps remove any excess product or oils, making it easier to work with the brows later on. Additionally, you can trim the hairs that are 'sticking' out of the desired eyebrow shape.
- Step # 4: Time to fill in the shape;
Alright, now that we've groomed and defined the perfect eyebrow shape, it's time to bring some depth and dimension to those beauties. Grab your favorite eyebrow product, whether it's an eyebrow pencil, powder, or gel and start working slowly, filling in the shape and adding missing hairs.
To mimic the appearance of natural brow hairs, start with the eyebrow pencil and apply the product starting from the inner corner of the brow, following the natural direction of hair growth. If you have any sparse areas in your brows, concentrate a bit more product there while keeping the rest of the brow looking lighter. This will create a balanced and even finish.
Rather than going in with a heavy hand right away, build up the intensity gradually. This will allow you to control the level of eyebrow definition and avoid any unnatural-looking ''block'' brows. Blend out the beginning of your eyebrow, keeping the tail of the brow well-defined and sharp. I like to extend it slightly to create a gentle tapering effect.
Once you are satisfied with the shape, shade, and intensity of the color, take a clean synthetic brush or spoolie brush and gently blend the product through the hairs. If your pencil or eyebrow powder slipped out of the desired shape, use some concealer or makeup remover to fix these little mistakes. I like to clean up the shape of my eyebrows with concealer and a small synthetic brush.
- Step # 5: Fix the eyebrows in place;
Congratulations! We're almost done achieving our natural and fabulous eyebrow look. The hardest steps are behind, now it is time to fix your eyebrows in place. For this, you'll need an eyebrow gel or wax. These products come in clear or tinted formulas and work wonders in holding the brow hairs in their desired shape, preventing them from smudging or shifting throughout the day. But, if you don't have any eyebrow gel available at this moment, you can use an eyebrow gel alternative to fix the look.
If you prefer a more natural look, a clear eyebrow gel will do the trick. I gently sweep the clear gel over my brows, following their natural arch and shape. The gel provides a light hold, keeping my eyebrow hairs in place without adding any additional color.
Henna Brows for a Subtle, Lasting Look
Do you want your natural eyebrow look to last a little longer, but not ready for microblading your eyebrows? A subtle, but lasting henna brows may be the perfect choice for you. Henna dye offers a unique and natural approach to eyebrow enhancement, creating beautifully defined brows without invasive procedures. You can check out my DIY henna brows tutorial to get the henna eyebrow look at home.
Final Thoughts...
Hey, lovelies, each one of us has a unique canvas to work with, and achieving a beautiful eyebrow shape is not about perfection. Your brows, like you, are a work of art in progress – and that's the beauty of it. Little flaws and asymmetry only make your eyebrows more unique. So, go ahead and face the makeup world with confidence! And, hopefully, this step-by-step tutorial will put an end to the struggles of overdone eyebrows. I wish you the best of luck on your makeup journey.
Lots of love,
Liz


